
By Sarah K.
Hello! I’m doing another art tutorial, but this time, we’ll be drawing a tiny dinosaur.
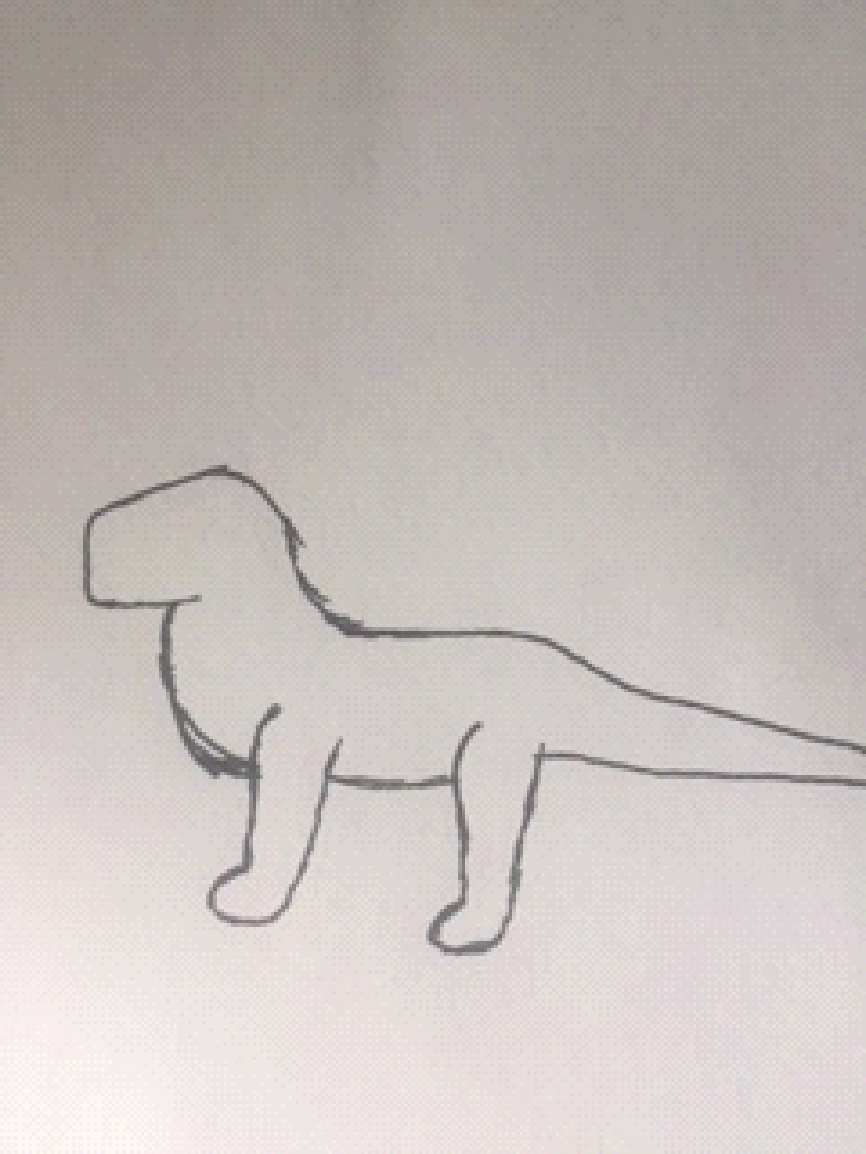
It will look a little something like this.
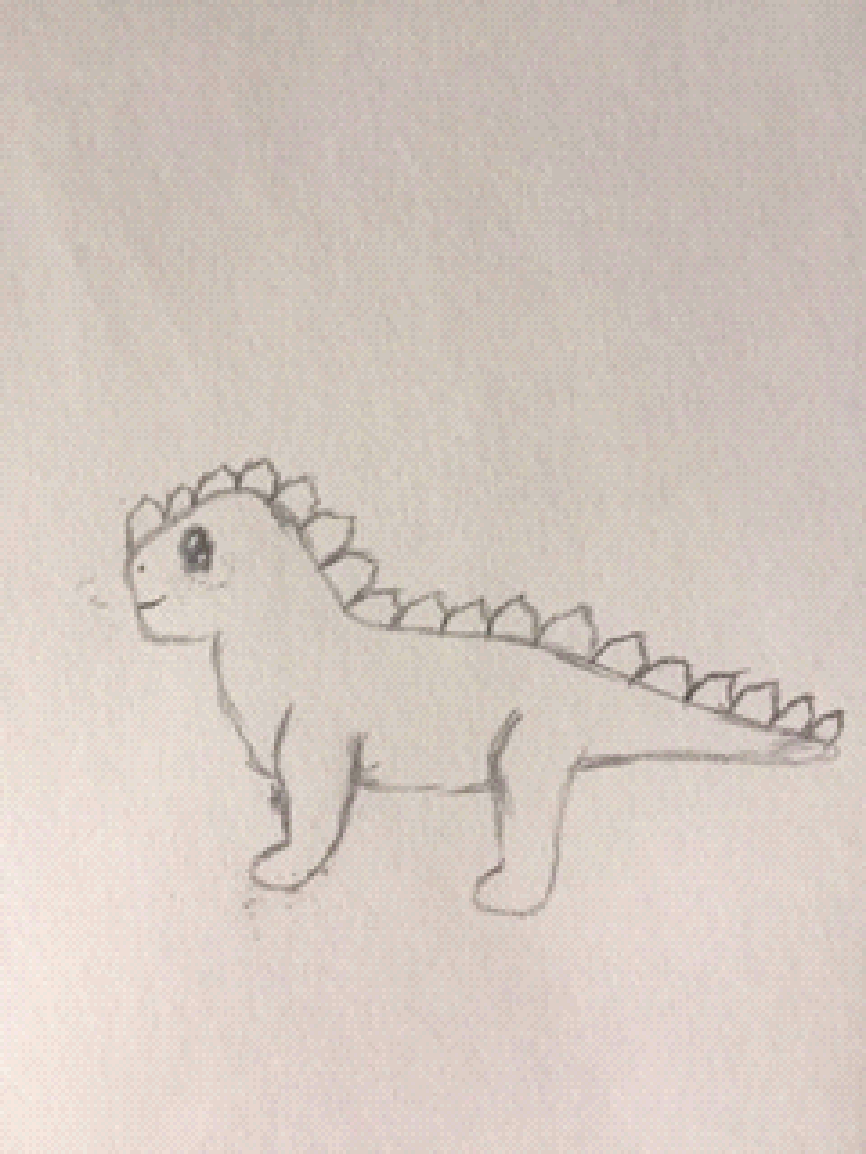
Just a heads up, this one might be a little difficult, but don’t give up, you can do it!
Some things you’ll need:
1. Some paper or a sketch book
2. A pen, pencil or other drawing utensil (I recommend you use a pencil, in case you need to erase anything)
3. Coloured pencils (optional)
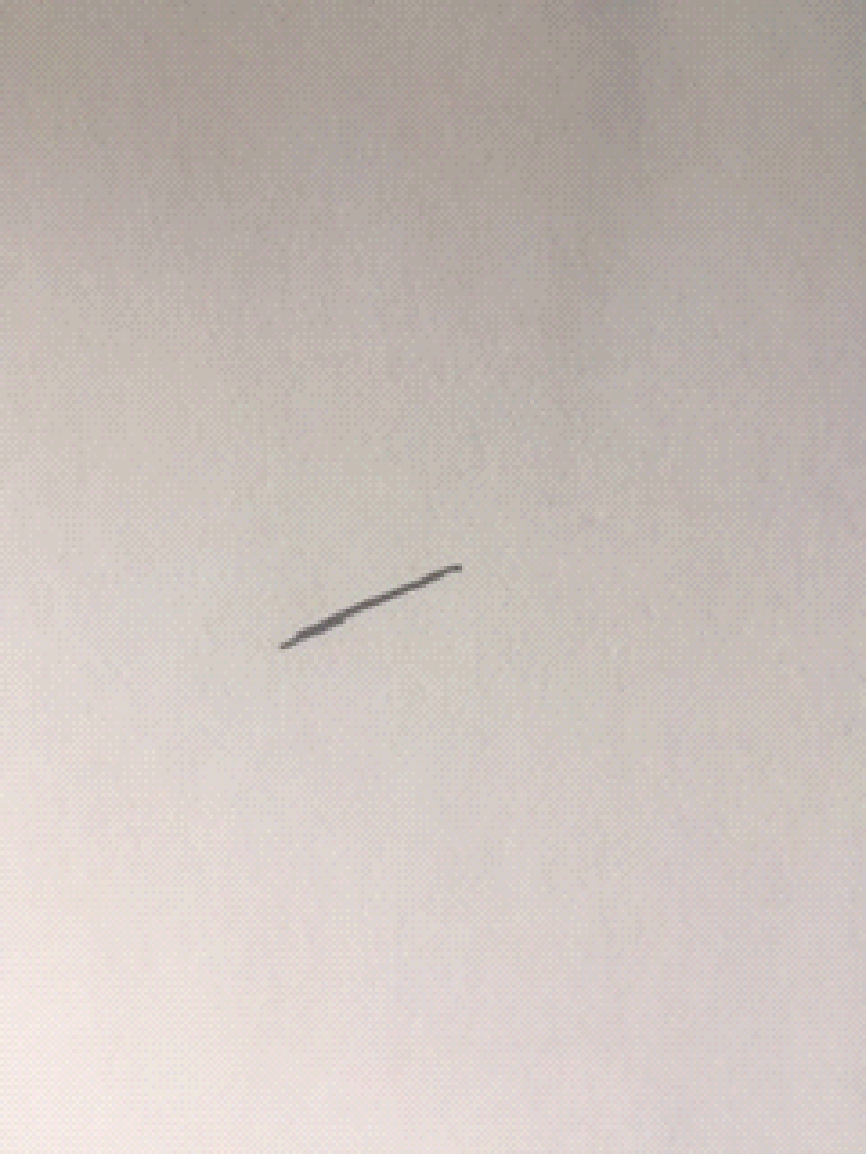
Step 1: The Head and Neck
Start off with a slowly inclining line. Like this.
Now, let’s add a little curve to the lowest part. Like this.
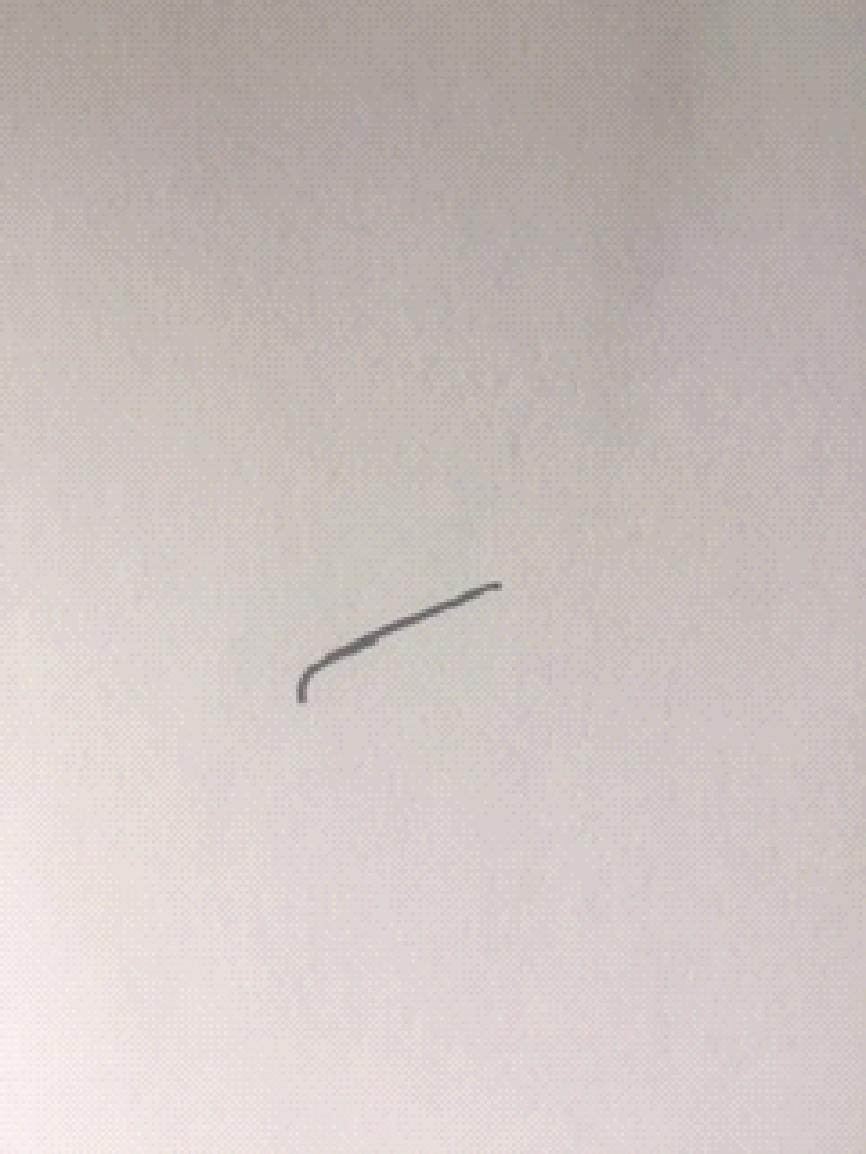
I like making the curve point straight down to give it a slightly more blocky face, but this is your drawing, it’s all up to you!
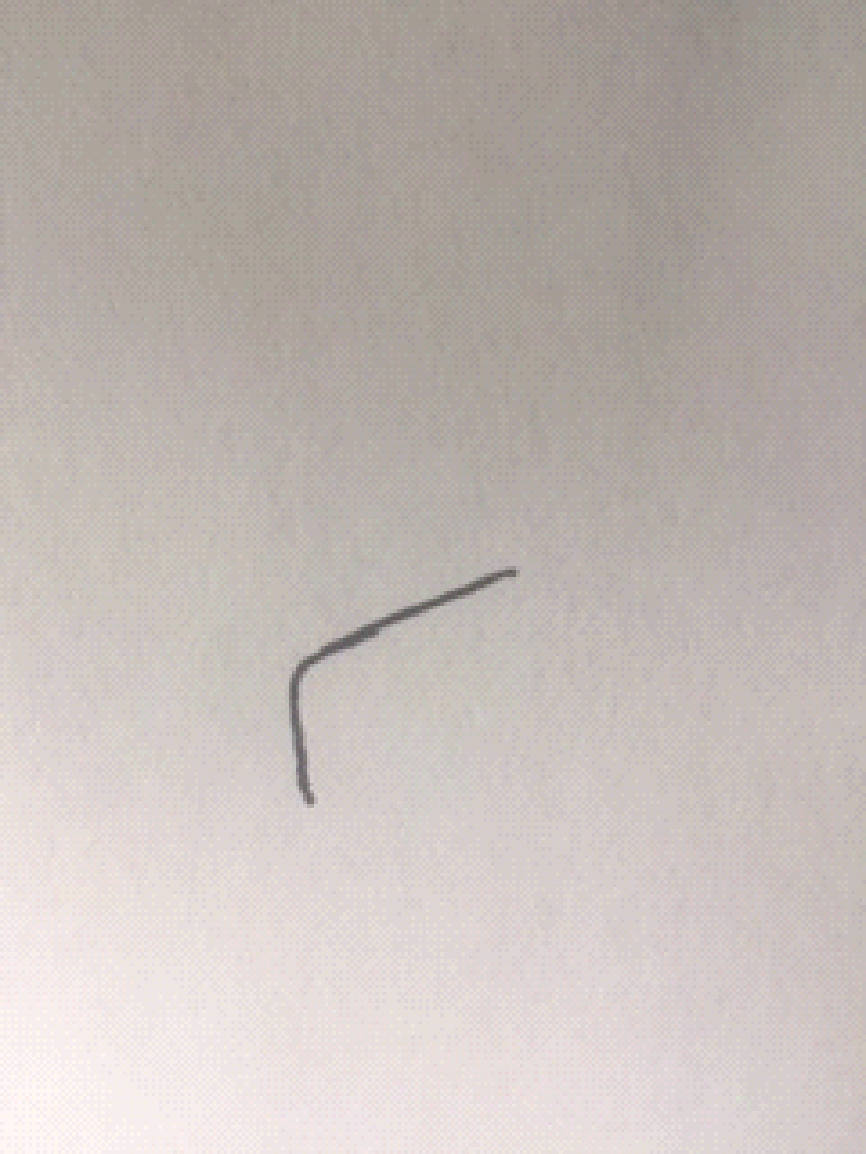
Let’s draw its nose/muzzle/snout now. Draw a line down, kind of like this.
Then, let’s curl the edge of that line in to give this little guy a chin. When you’re done, it should look a little like this.
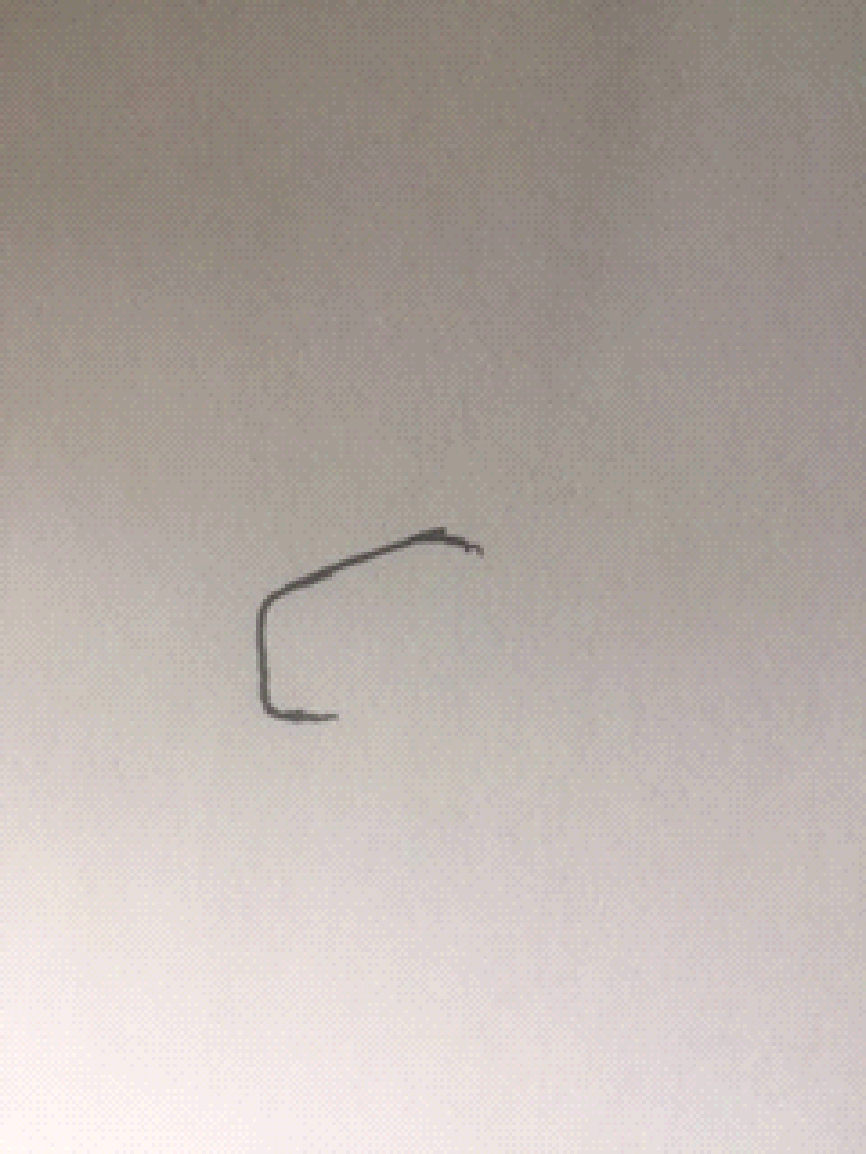
Also, if you notice, I have already started rounding the back of its head a little. That tends to give me a little more of an idea on how it’ll look when I finish, but you can do it later if you like.
Now, let’s extend the chin a little bit more, and add a slightly rounded line down from it. Like this.

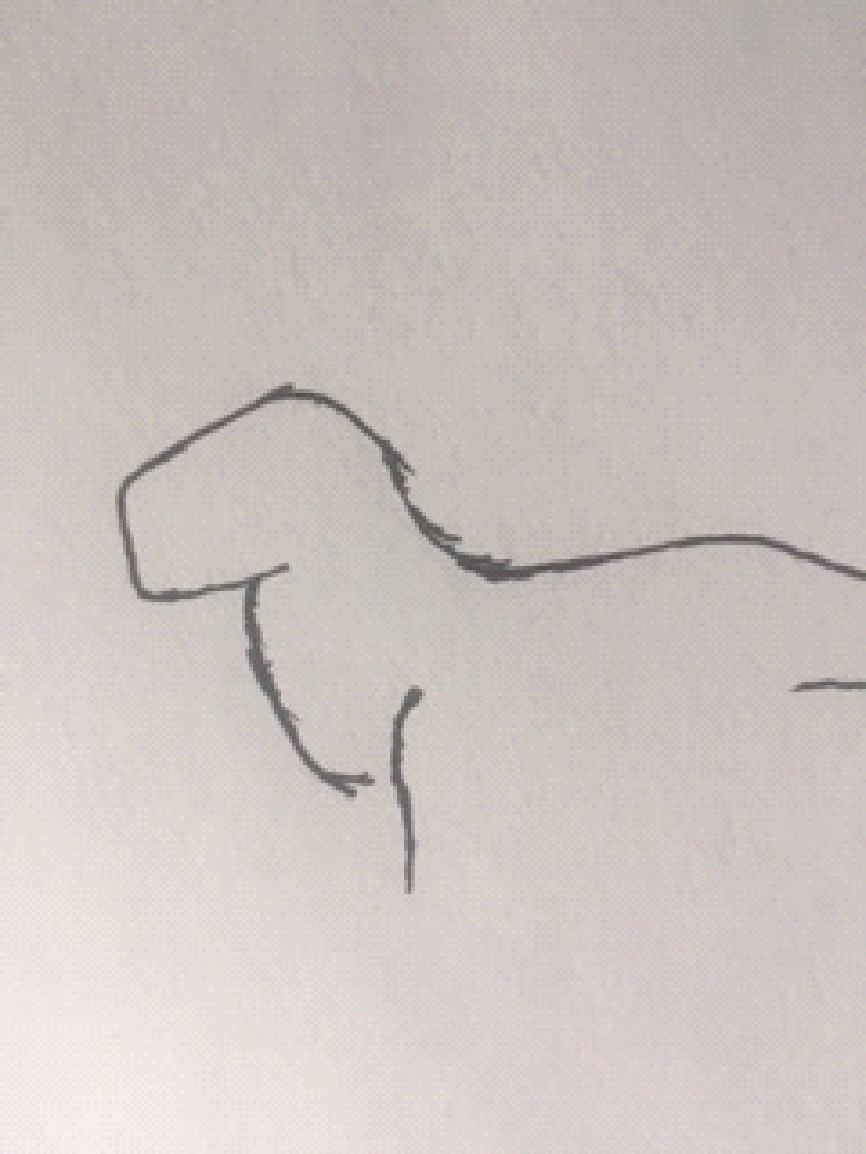
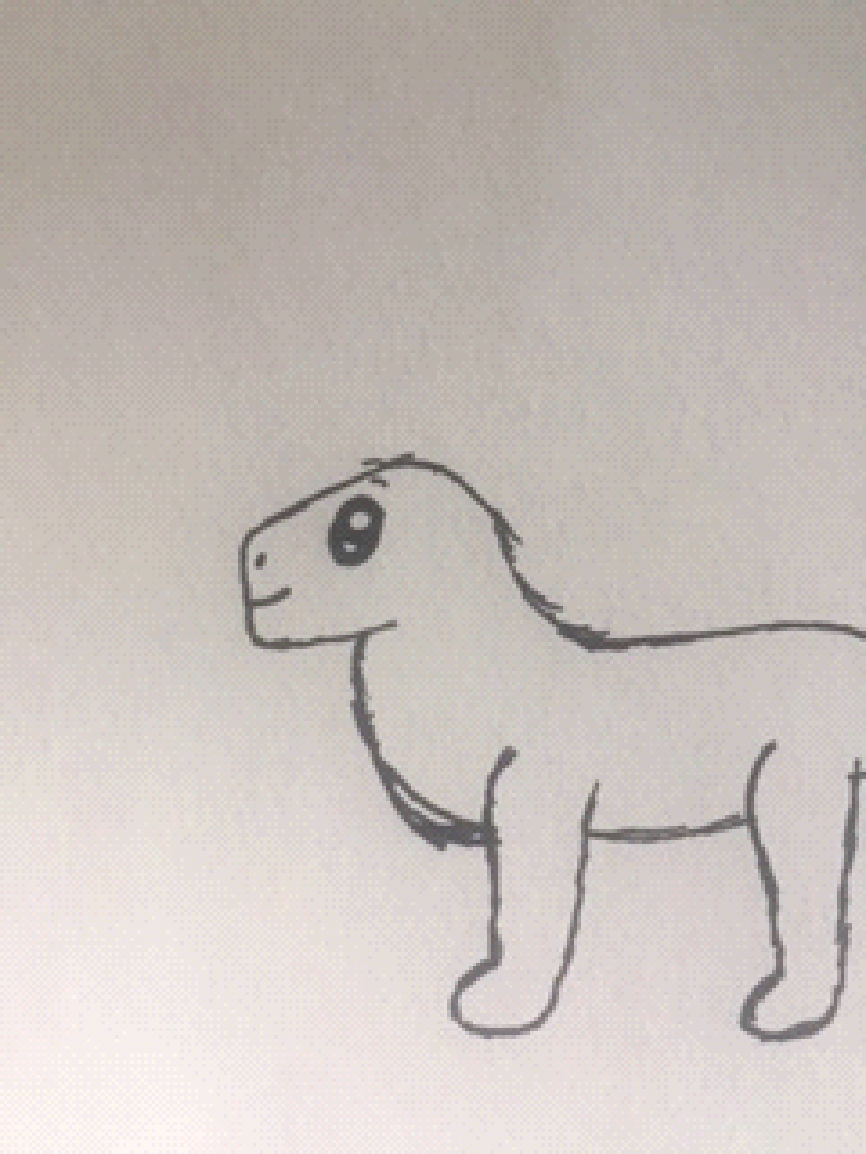
Since we’ve finished the front part of its neck and face, let’s do the back.
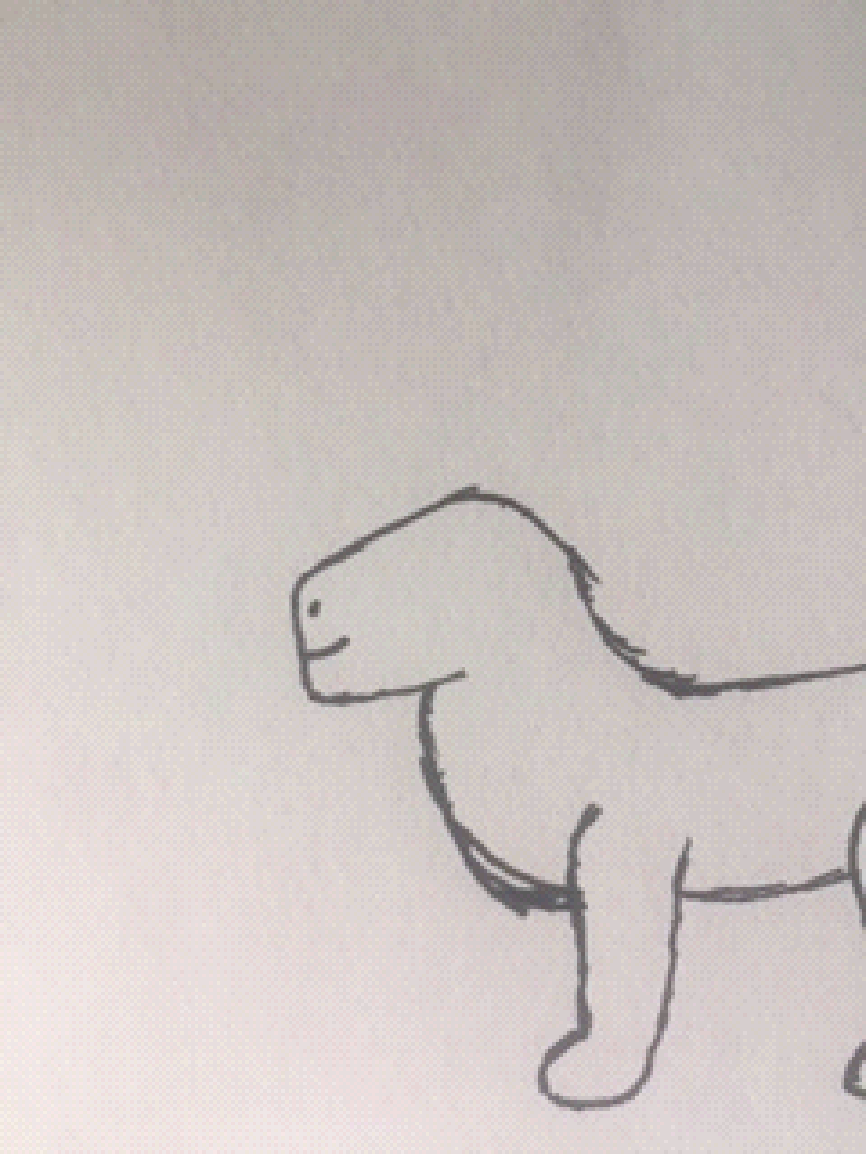
Start rounding the head back a little, then add a slightly smaller curved like for the back of its neck. Like this.
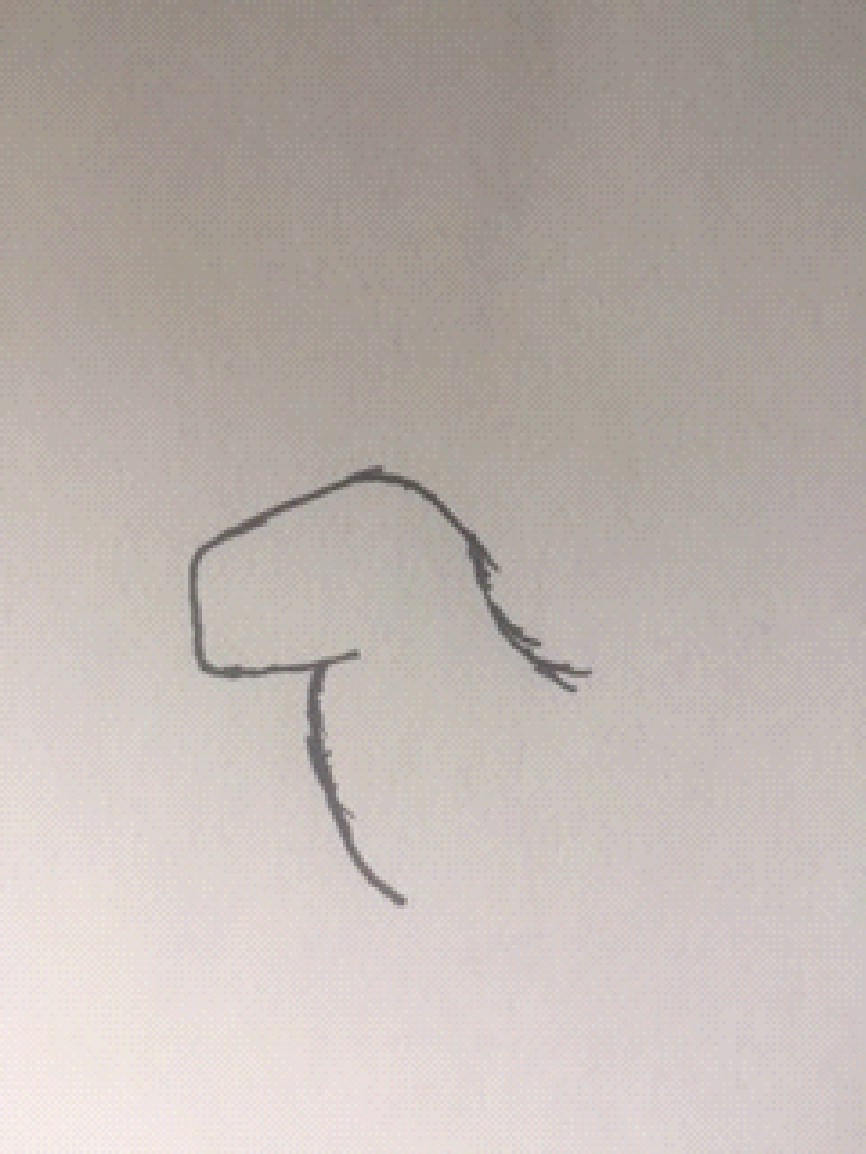
Hey, look, our little dinosaur’s starting to take form! Good job!
Step 2: The Back and Tail
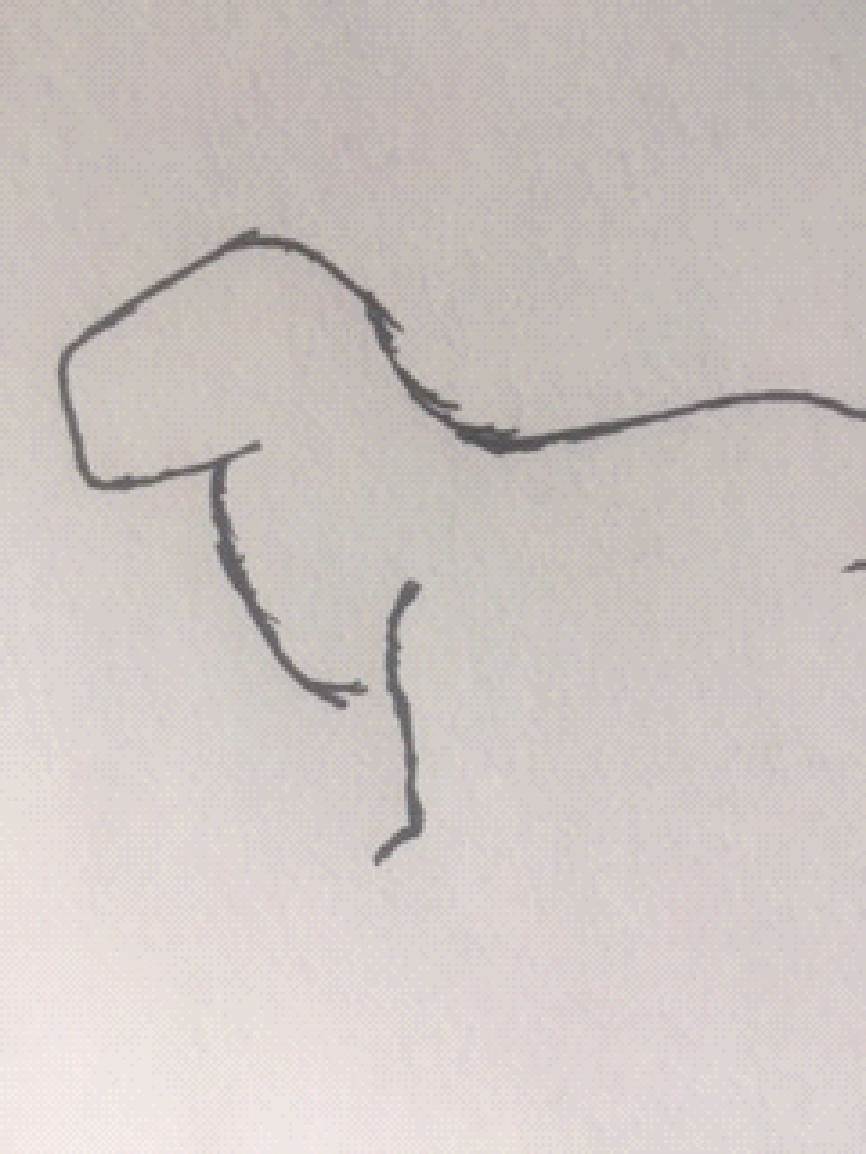
Since we’ve finished its neck and head, we’ll now be drawing its back, which connects to its tail. This is probably the simplest part.
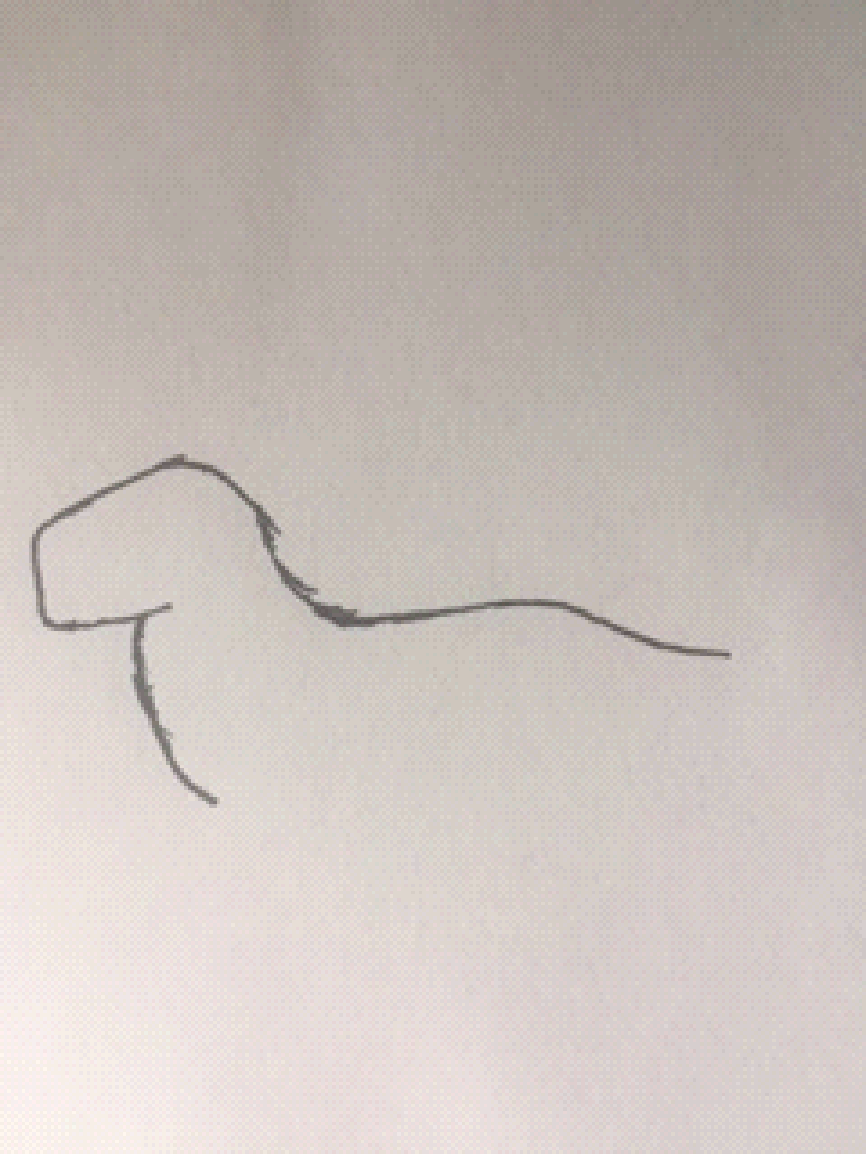
Start by extending the back of its neck a little by drawing a straight line horizontally (sideways). When you’re done it should look like this.

Now, we want to extend it a little more and round it downwards where you want the tail to start. You can extend the tail/back as far as you want, there’s really no wrong way to do it.
When you’re done it should look a little like this.
Let’s extend the tail some more. When you get to the point where you feel the tail is long enough, curve it back towards the dinosaur’s body. Like this.
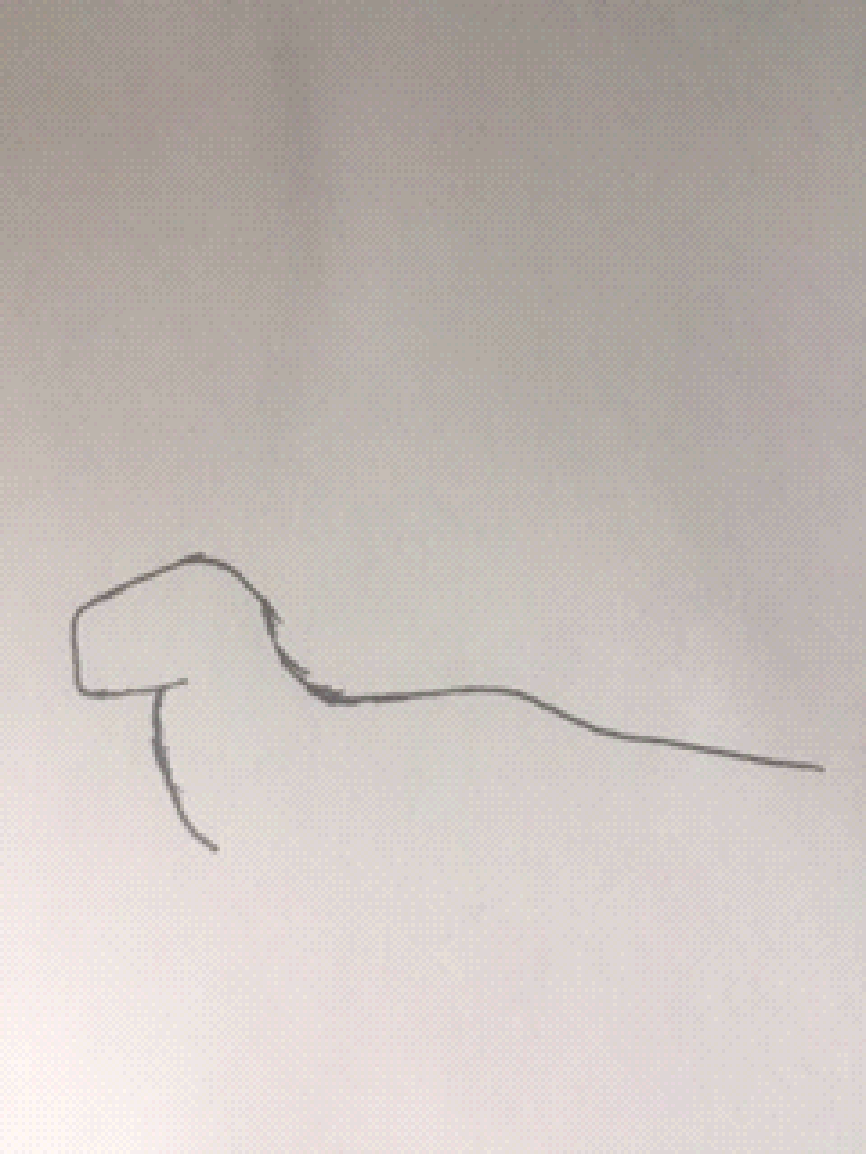
By the way, you can make the tail as curved as you want.
Once you’ve finished with the tip of the tail, draw a line back to where the back turned into the tail. Like this.

Yay! We’ve finished the tail! You’ve almost finished drawing your dinosaur!
Step 3: The Legs
This is the hardest part, I strongly recommend you use a pencil for this part!
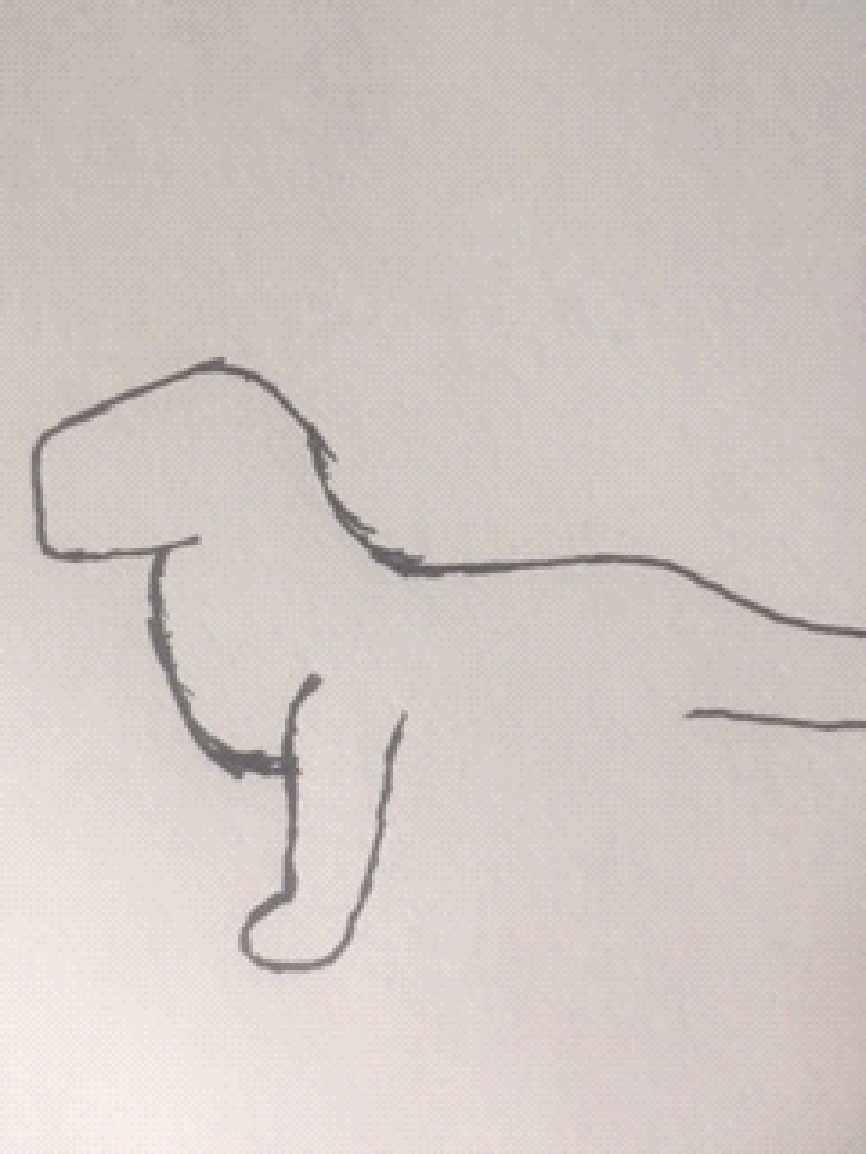
Start with a very slightly curved line from where the throat/chest ends, then extend downwards. Like this.
The legs can be as long as you want, they can also be however wide or curved as you’d like.
Keep drawing the line until the leg is at the length you want it to be, then draw a slightly squashed half-circle. Like this.
Now, flatten the bottom, and draw back a little. Like this.

Then start drawing up back to the body. When you finish, it should look a bit like this.
Don’t get discouraged if it didn’t turn out the way you wanted, there is no wrong way to do art. If you’re using pencil, you can always erase and try again, and if you’re using pen, it makes your drawing more unique. Plus, if you practice, I’m sure you’ll get it.
Also, feel free to use your own technique if mine doesn’t work for you!
Now, let’s repeat for the back leg.
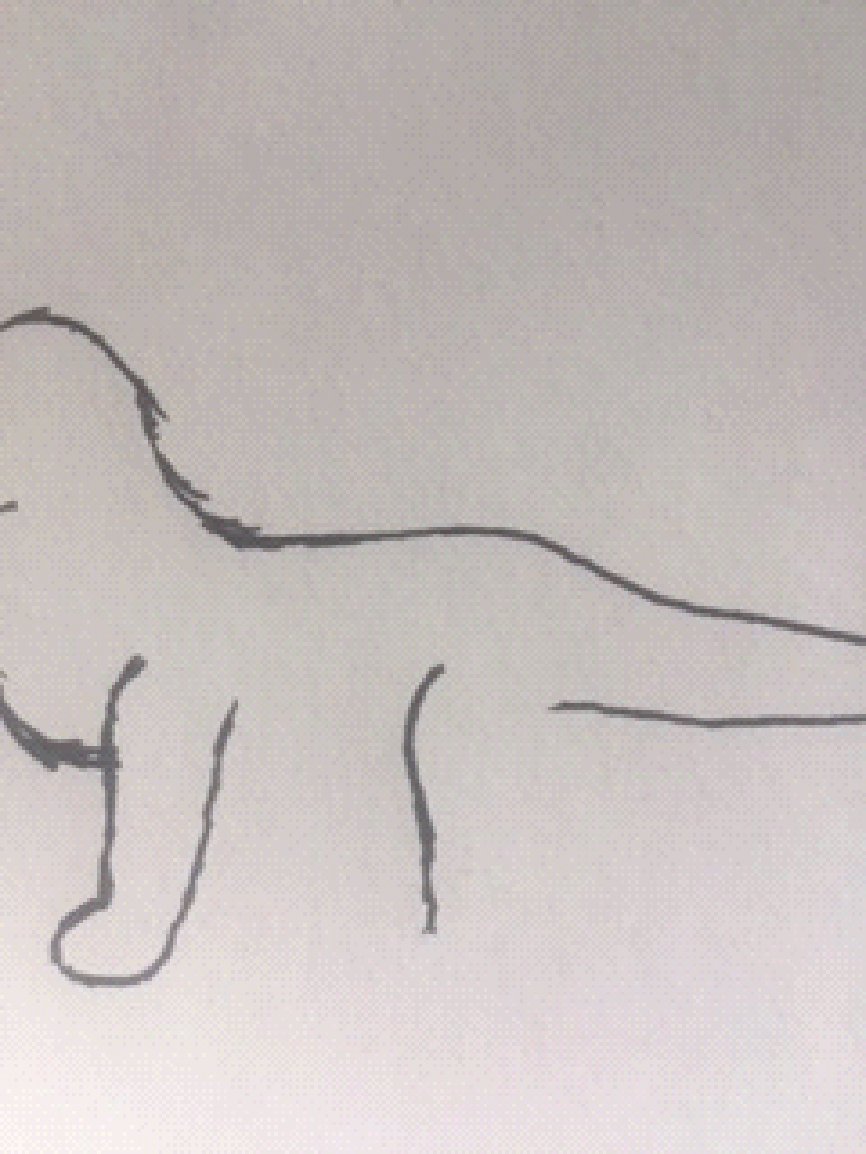
Now, draw the foot and back up to the base of the tail.
Yay! You’re done with the legs!
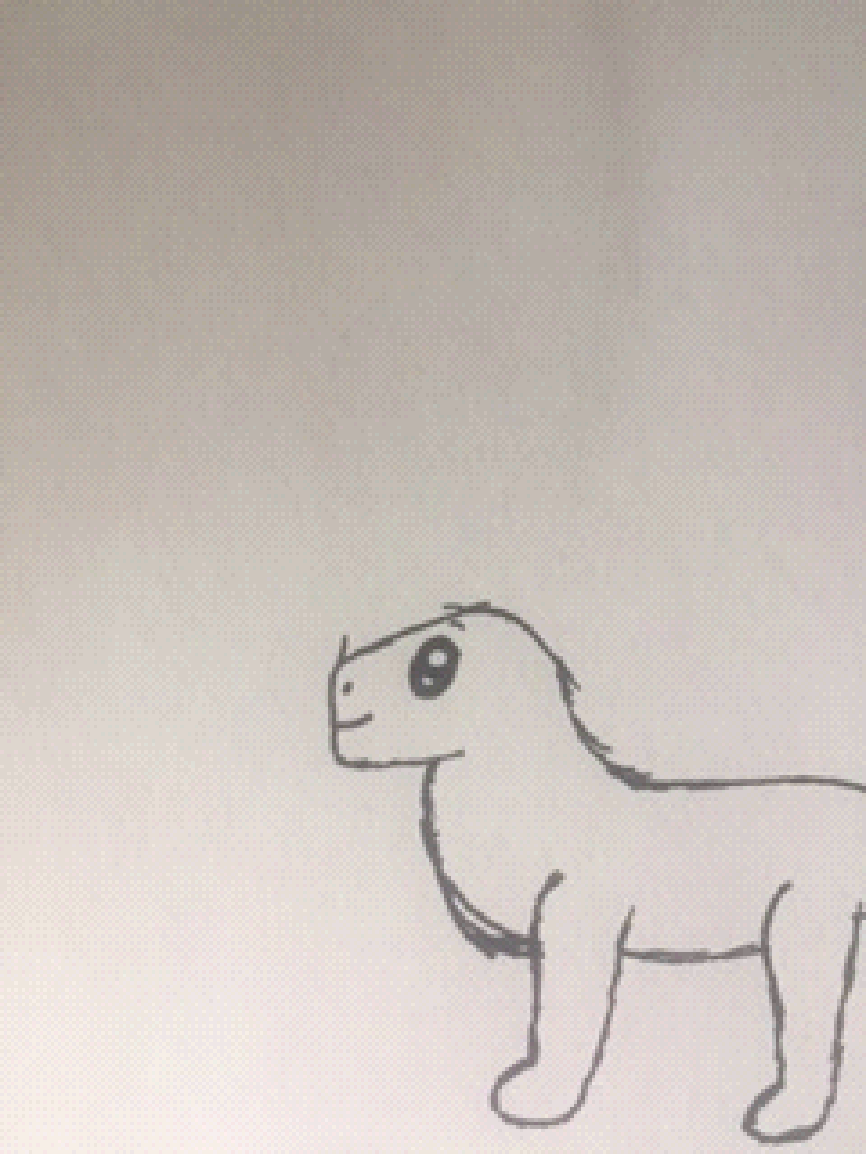
Step 4: The Belly
This one is probably the easiest, and you can probably do this on your own, but I feel like it’s important to include every step. Here you go.
Draw a small curved line from the back of the front legs to the back legs. Like this.
And now you’re done this step. Good job!
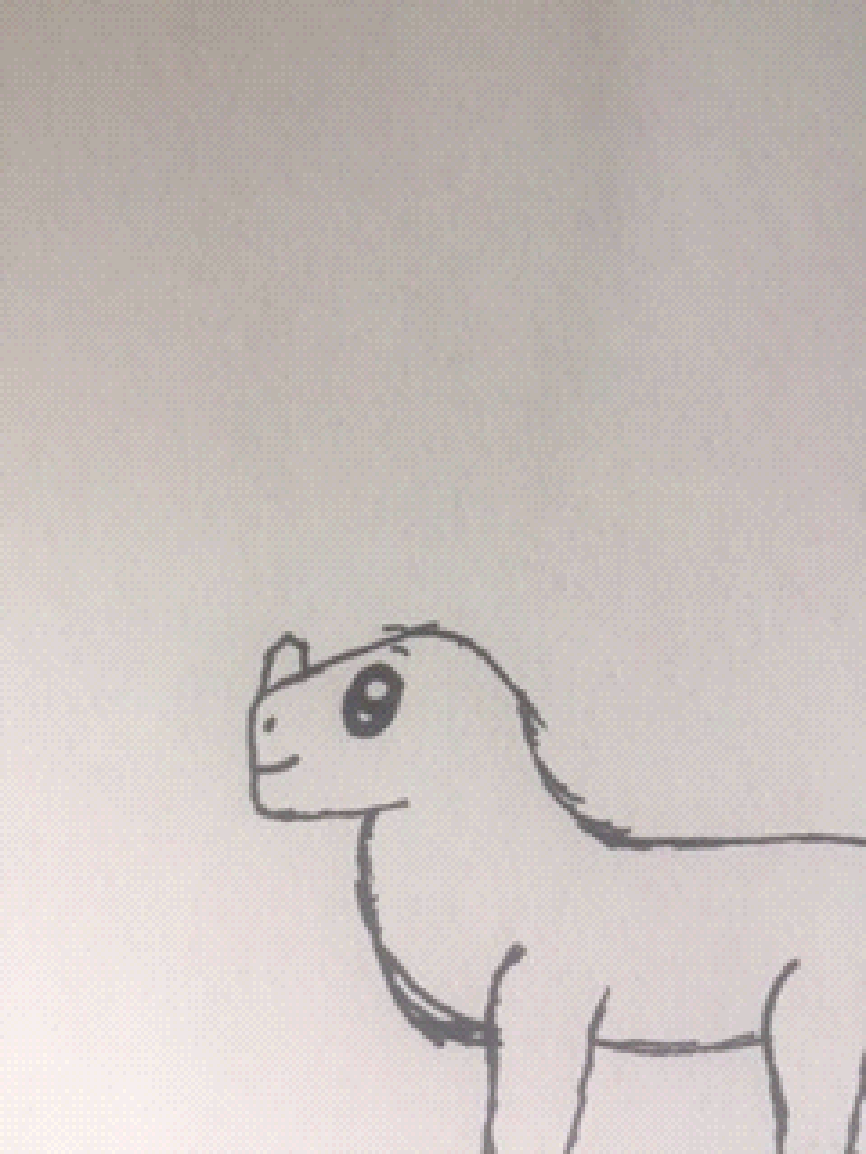
Step 5: Details
We’re done with the basic shape, so now let’s move on to the details.
I’m going to start with the face. Draw a small dot by the upper corner of the dinosaur’s snout, then draw a small smile (or whatever expression you want to give it). Like this.
Then, for eyes, draw an egg-like shape, and draw two circles inside. Like this.
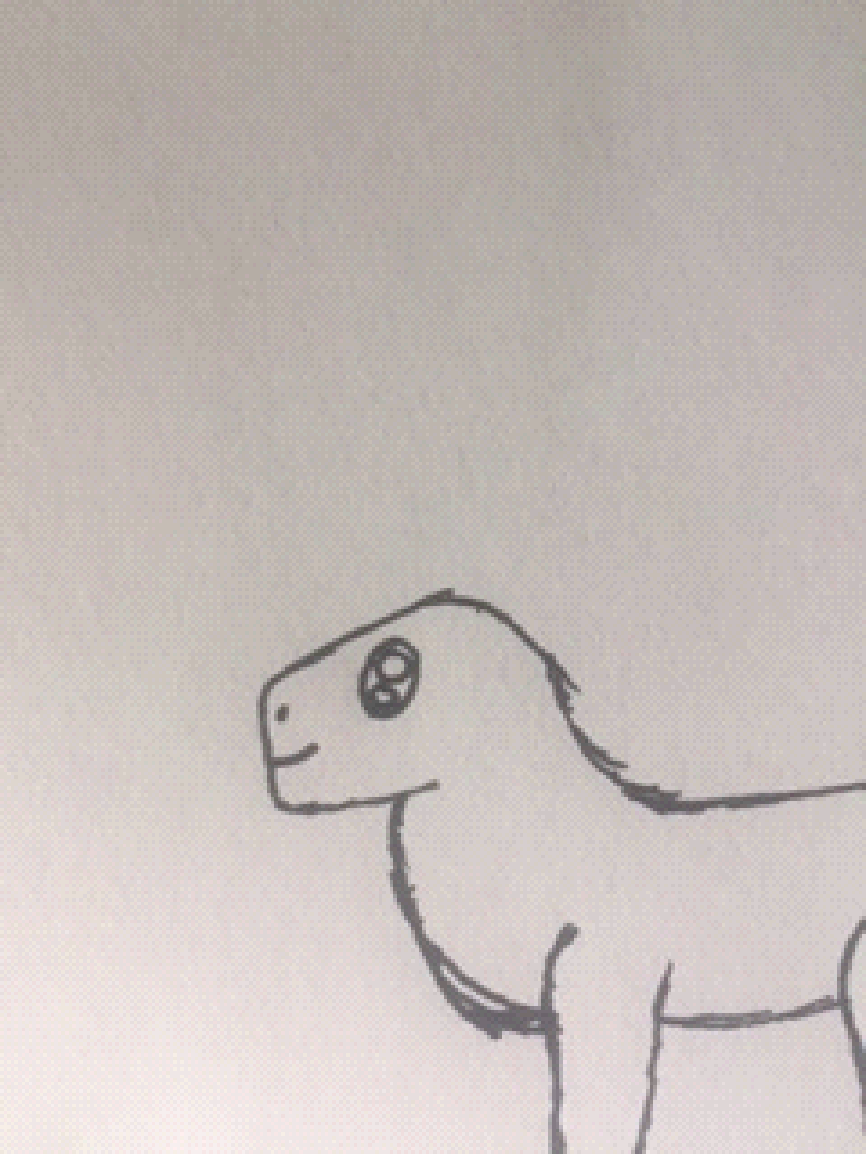
For me, the circles inside always need to be drawn bigger than I think they do.
Now, fill in everything that isn’t those circles with black (or whatever colour you want). When you finish, it should look like this.
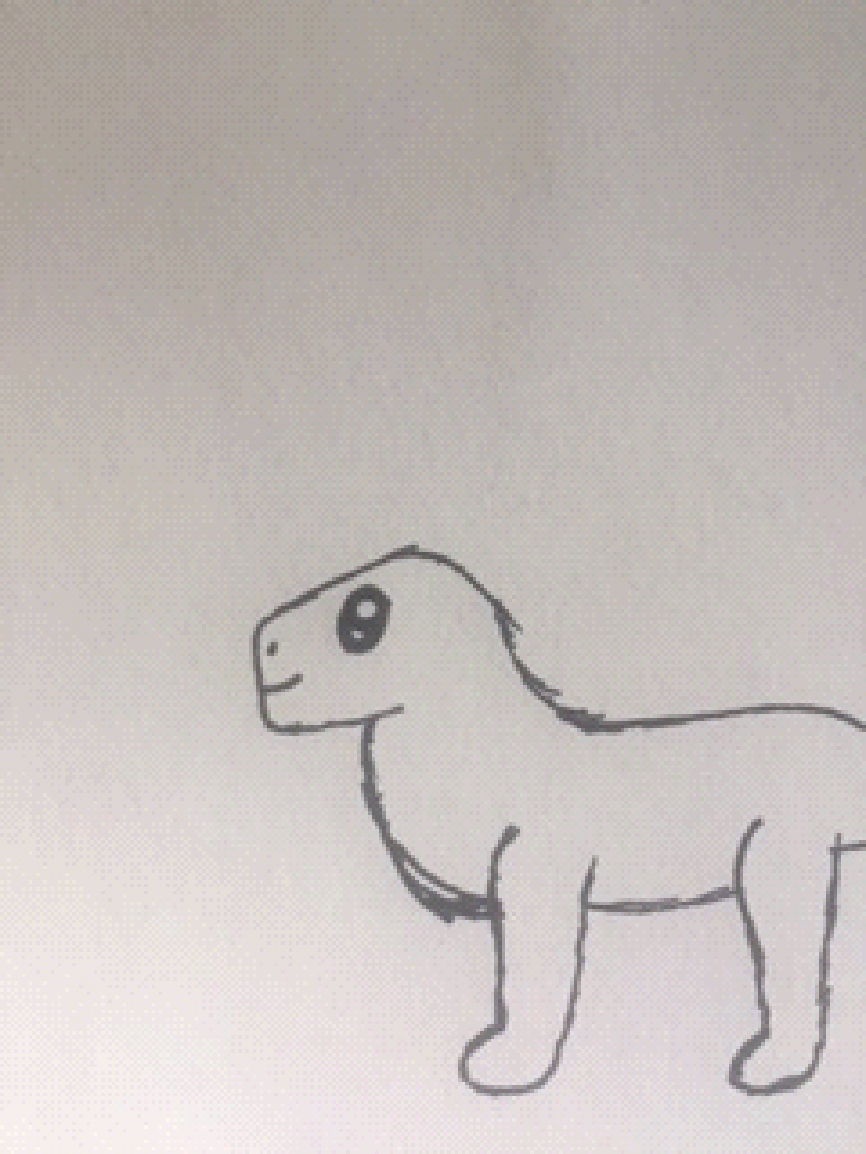
When I do this, I like drawing a little eyebrow to make it a little more expressive. This is completely optional, and if you prefer it without, you can leave it out.
If you do want to draw one, it’s a small curved line a little above the eye. You can make it any shape to express whatever you want, but that’s the basic shape to me. This is what I make mine look like.
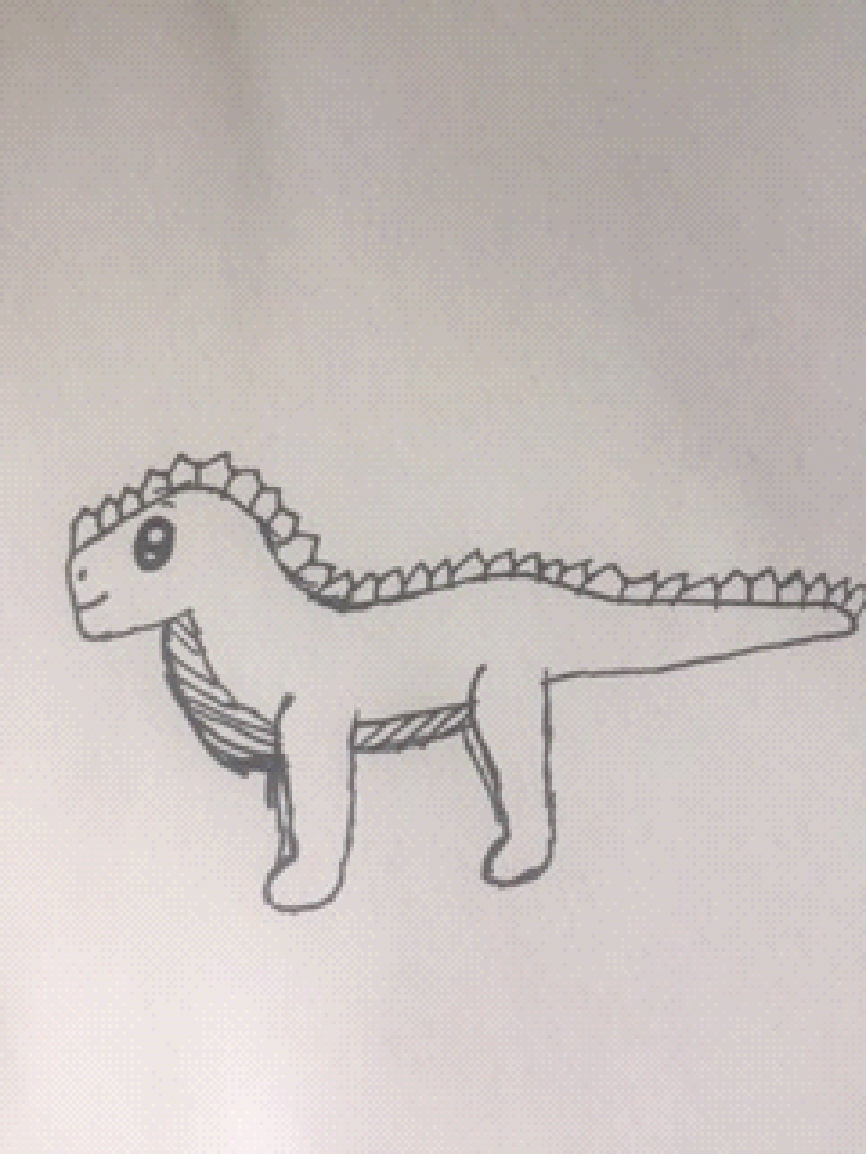
Now, let’s give this little guy some spikes.
Start with a straight line from the top of the head. Like this.
And then a small diagonal one, going up a little.

And then one mirroring that.

And another straight line down.
Keep in mind this is just a basic shape I like using. You can do whatever with this part.
Continue drawing the shape down its body. When you’re done, it should look a bit like this.

For my drawing, I added belly stripes and small outlines of legs behind the ones I already drew, but you don’t have to, this is your drawing, you can do whatever with it.
Happy drawing!
No comments:
Post a Comment